

Gluten-Free Seed Crackers
Crunchy, grain-free crackers made from seeds.

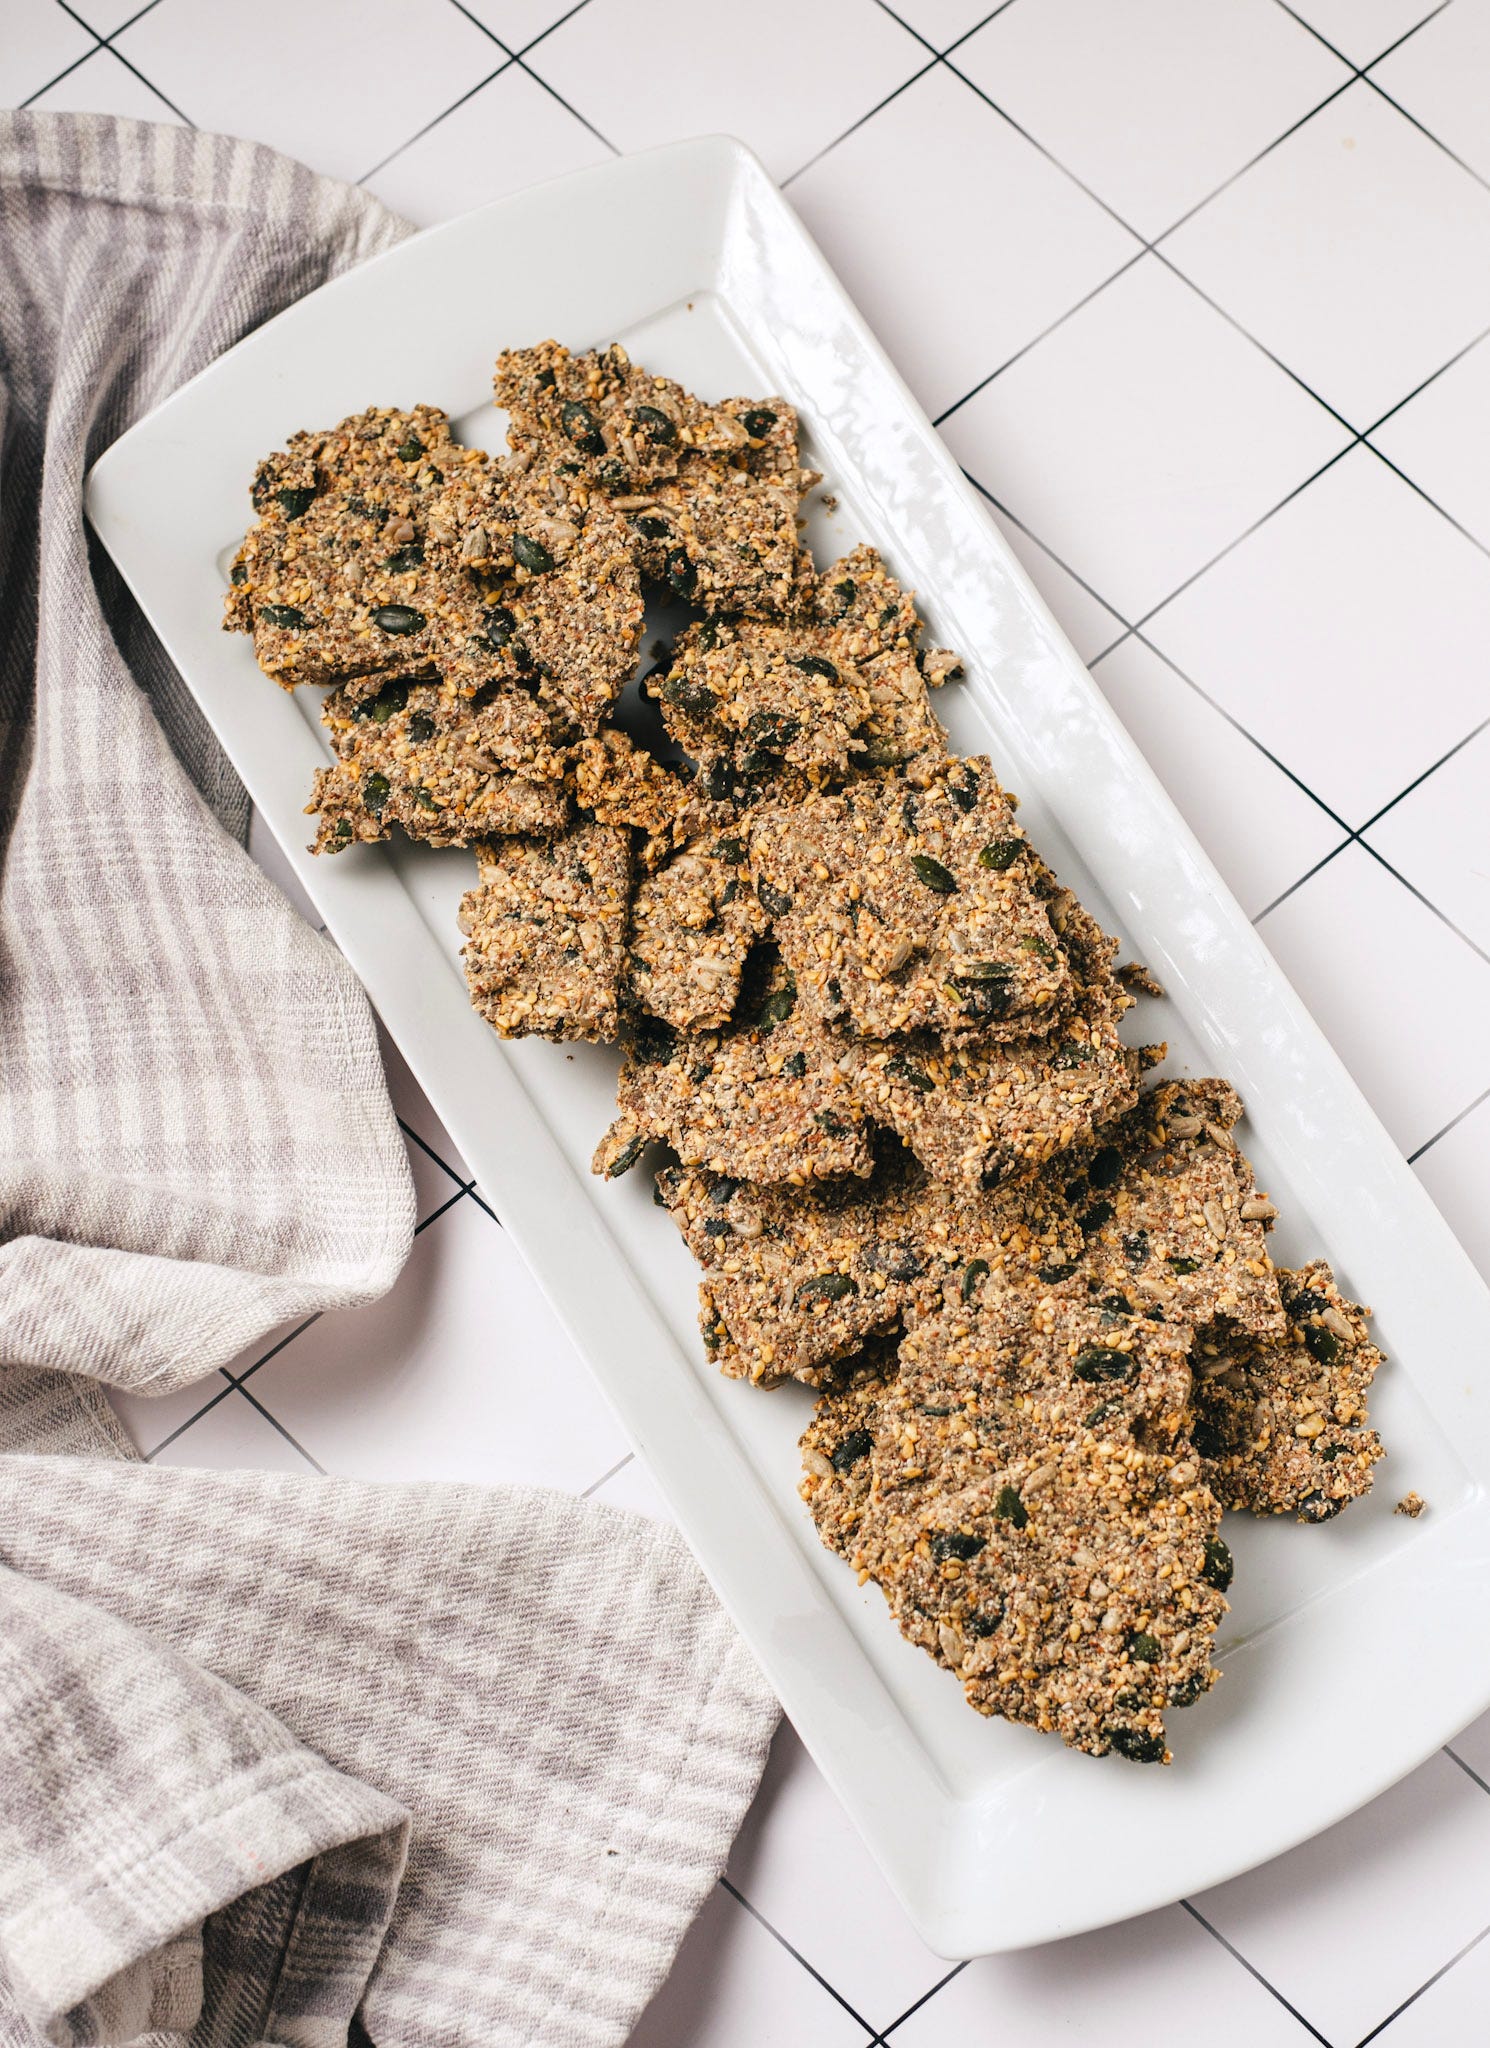
These crackers are crisp and satisfying, with a blend of seeds and the right balance of ingredients for a perfect crunch every time.
The Story Behind the Dish
Seed crackers have been a baking project of mine for a while now. I was determined to make them crunchy, but my early attempts were, well… more chewy disappointment. Some batches refused to crisp up, and others stayed so wet on the bottom they could have passed as drink coasters. After several trials, I finally discovered the secret: psyllium husk.
The sogginess was from too much moisture trapped in the dough. Without enough air circulation or the right balance of ingredients to absorb water, the bottom stayed damp while the top baked. Psyllium husk, a natural fiber, steps in to absorb excess water, helping the mixture dry out evenly during baking.
Psyllium husk thickens the mixture without making it heavy, and the crackers come out crisp, top and bottom. The combination of pumpkin, sunflower, and sesame seeds gives them a satisfying bite, and I love switching up the seasonings. Finally, I’ve nailed a version that’s crunchy, tasty, and—best of all—no more soggy crackers!
Recipe Overview
Prep Time: 35 minutes (including 30 minutes rest time)
Cooking Time: 30-40 minutes
Yields: Approximately 20-30 crackers
Ingredients
½ cup almond flour (or substitute with sunflower seed flour or chickpea flour for a nut-free option)
¼ cup chia seeds
2 tablespoons psyllium husk
¼ cup sunflower seeds
¼ cup pumpkin seeds
¼ cup sesame seeds
¼ cup + 2 tablespoons water
½ teaspoon salt
Directions
In a bowl, combine all the ingredients. Knead the mixture with your hands until everything is evenly mixed and begins to form a dough-like consistency. Let it sit for at least 30 minutes to allow the chia seeds and psyllium husk to absorb the water and thicken.
Preheat the oven to 150°C (300°F).
Tip: Lightly grease the baking sheet before placing the parchment paper on it, then lightly grease the top of the parchment paper to prevent sticking. This makes it easier to remove the crackers once baked and helps them maintain their texture.
Spread the mixture evenly into a thin layer on the parchment-lined baking sheet, ensuring it's as flat as possible for crispy crackers.
Place the baking sheet on the middle rack and bake for 30-40 minutes.
After 15 minutes, remove the baking sheet and score the dough into your desired cracker size using a knife or pizza cutter.
Return to the oven and continue baking, checking every 10 minutes, rotating the pan to ensure even cooking.
When the crackers are lightly toasted and golden brown, remove them from the oven and transfer to a cooling rack. They will crisp up further as they cool.
Serve with your favorite spreads or cheeses. Enjoy!

Food for Thought
I started eating gluten-free and mainly grain-free to help manage my autoimmune disease, rheumatoid arthritis. This naturally led me to spend more time experimenting in the kitchen. What began as a health necessity has grown into a real passion for understanding the science behind it. If you have any book recommendations on the science of this type of baking, I’d love to hear them! I’m fascinated by how different ingredients create unique effects. Why do some flours behave so differently than others? And what is it about wheat and grains that makes them so deliciously effective in traditional baking?
At first, I worried about finding options that were both healthy and tasty, but now I’m amazed at what’s possible with just a few simple swaps. Each new recipe makes me feel more confident and excited to try something different. The possibilities with whole foods are endless, and it’s empowering to know you can create delicious meals that nourish you and go along with your diet.
If there’s a recipe you’d love to see a grain-free version of—or if you’re craving an AIP (Autoimmune Protocol) twist on a traditional dish—let me know!
Take care,
Rebecca